
A torch tip cleaner is one of the most essential yet often overlooked tools in any metalworker’s or craftsman’s toolkit. Whether you’re using a propane torch for plumbing, an oxy-acetylene torch for welding, or a butane torch for jewelry making, keeping the tip clean is absolutely critical for performance, safety, and efficiency.
In this comprehensive guide, we’ll cover everything you need to know about torch tip maintenance, including:
Understanding Torch Tip Clogging: The Science Behind the Problem
To properly maintain your torch, it’s important to understand what causes tip clogging in the first place. There are three primary mechanisms at work:
- Carbon Deposits: When fuel burns incompletely, it leaves behind carbon particles that gradually build up in the tip orifice. This is particularly common with propane and butane torches.
- Oxidation: The high temperatures cause metal oxidation, creating scale that can flake off and obstruct gas flow. This affects all metal torch tips over time.
- Contaminants: Impurities in the fuel, environmental dust, or handling debris can all contribute to clogging issues.
The rate at which your torch tip clogs depends on several factors:
- Fuel Type: Acetylene tends to create more soot than MAPP gas
- Usage Frequency: Daily use accelerates buildup
- Environmental Conditions: Humid or dusty environments worsen clogging
- Tip Material: Copper tips oxidize faster than brass or stainless steel
Professional-Grade Torch Tip Cleaner Kits: What to Look For
Investing in a quality torch tip cleaner kit is the most reliable long-term solution. Here’s what separates professional kits from basic ones:
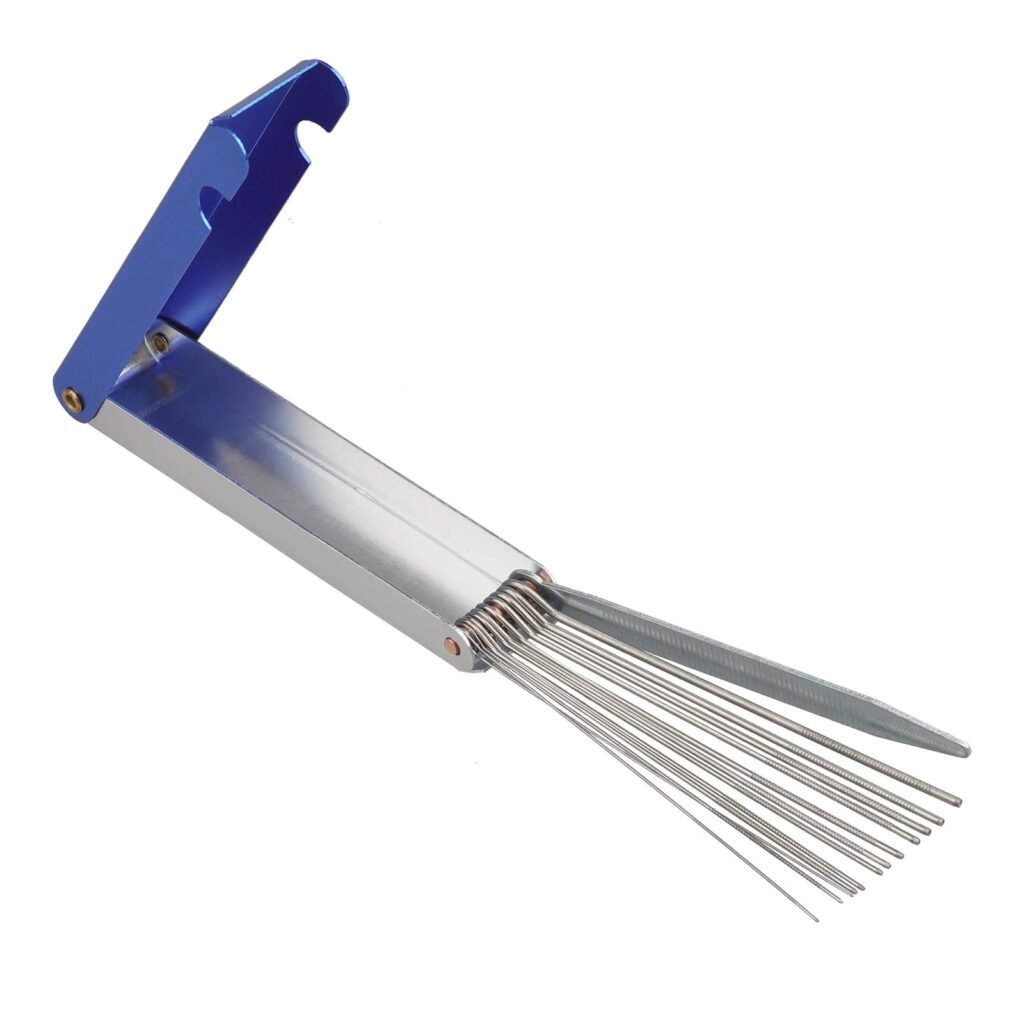
Needle Selection:
- Should include at least 5-10 different gauge needles
- High-carbon steel needles last longer than standard steel
- Tapered needles help with different orifice sizes
Additional Tools:
- Rotary reamers for stubborn deposits
- Brass brushes in multiple sizes
- Inspection mirrors for hard-to-see areas
- Storage case to prevent needle damage
Quality Indicators:
- Needles should flex slightly but not bend permanently
- Handles should provide firm grip even when oily
- Tools should be clearly labeled with sizes
Recommended Brands:
- Harris (professional grade)
- Uniweld (good mid-range option)
- Victor (basic but reliable)
Step-by-Step: Professional Cleaning Technique
Follow this detailed process for optimal cleaning results:
- Safety Preparation
- Allow torch to cool completely (minimum 30 minutes)
- Work in well-ventilated area
- Wear safety glasses and gloves
- Disassembly
- Follow manufacturer’s instructions exactly
- Take photos during disassembly if needed for reassembly
- Organize small parts in a magnetic tray
- Initial Inspection
- Use magnifying glass to examine tip condition
- Check for cracks, warping, or severe corrosion
- Measure orifice size with drill gauge if uncertain
- Mechanical Cleaning
- Start with largest appropriate needle
- Use gentle twisting motion, not force
- Work from both sides of the orifice
- Progress to smaller needles as needed
- Final Polishing
- Use brass brush in circular motions
- Clean external surfaces thoroughly
- Wipe with lint-free cloth
- Reassembly and Testing
- Apply appropriate thread lubricant if recommended
- Perform leak test before ignition
- Check flame characteristics
Ultrasonic Cleaning: When and How to Use It
Ultrasonic cleaning takes torch tip maintenance to the next level. Here’s what makes it special:
How It Works:
- High-frequency sound waves create microscopic bubbles
- Bubble implosion provides gentle but thorough cleaning
- Reaches internal passages mechanical tools can’t
Best Applications:
- Jewelry torches with delicate tips
- Torches with complex internal geometries
- Severely clogged tips that resist mechanical cleaning
Step-by-Step Process:
- Solution Preparation:
- 70% isopropyl alcohol
- 30% distilled water
- Add 1 tsp citric acid per liter for tough deposits
- Cleaning Cycle:
- 5 minutes at 40°C for light cleaning
- 10 minutes at 50°C for heavy deposits
- Never exceed 60°C
- Post-Cleaning Care:
- Rinse with distilled water
- Dry immediately with compressed air
- Light oil coating for storage
Equipment Recommendations:
- Branson 1800 (professional)
- iSonic D3800 (hobbyist)
- Vevor 10L (budget option)
Chemical Cleaning Solutions Compared
When mechanical methods aren’t enough, these chemical solutions can help:
Solution | Best For | Soak Time | Safety Notes |
Acetone | Flux residues | 15-30 min | Highly flammable |
Vinegar | Oxidation | 1-2 hours | Mild acid – rinse well |
CLR | Mineral deposits | 5-10 min | Contains acids – ventilate |
Carb Cleaner | Carbon buildup | 2-5 min | Harsh chemicals – gloves required |
Simple Green | General cleaning | 30-60 min |
Pro Tip: Always neutralize acid cleaners with baking soda solution before rinsing.
Maintenance Frequency Guidelines
This maintenance schedule applies to average usage conditions:
Daily Users (5+ hours/day):
- Quick brush after each use
- Full cleaning every 3 days
- Ultrasonic cleaning monthly
Weekly Users (5-15 hours/week):
- Quick brush weekly
- Full cleaning monthly
- Ultrasonic cleaning quarterly
Occasional Users (<5 hours/month):
- Full cleaning before storage
- Inspection before each use
- Ultrasonic cleaning annually
Signs You Need Immediate Cleaning:
- Flame color changes (yellowing)
- Popping or sputtering sounds
- Difficulty maintaining consistent flame
- Visible debris around tip
Troubleshooting Advanced Torch Problems
Beyond simple clogs, torches can develop other issues:
Problem: Erratic flame despite clean tip
Possible Causes:
- Faulty regulator
- Damaged gas lines
- Improper gas mixture
Solution: Have professional inspect torch system
Problem: Tip overheating during use
Possible Causes:
- Incorrect tip size for application
- Excessive gas pressure
- Poor quality tip material
Solution: Replace with properly sized, higher quality tip
Problem: Threads won’t seal properly
Possible Causes:
- Cross-threading
- Damaged O-rings
- Worn mating surfaces
Solution: Replace damaged components
Cost Analysis: Repair vs. Replace
When is it better to replace rather than clean?
Repair When:
- Tip costs >$50
- Specialized/rare tip
- Minor damage only
Replace When:
- Orifice is visibly deformed
- Cracks are present
- Cost is <$20
- Performance issues persist after cleaning
Pro Tip: Keep spare tips for critical applications to avoid downtime.
Advanced Techniques for Professionals
For industrial users, these methods provide superior results:
Electropolishing:
- Removes microscopic surface imperfections
- Creates smoother gas flow
- Reduces future buildup
Laser Cleaning:
- No physical contact
- Preserves precise orifice dimensions
- Eliminates cross-contamination risk
Cryogenic Cleaning:
- Uses dry ice blasting
- Removes all organic residues
- No chemical residues left behind
Final Recommendations
After testing dozens of methods, here are my top recommendations:
For Most Users:
- Harris cleaning kit ($35)
- Monthly deep cleaning
- Annual ultrasonic cleaning
For Professionals:
- Invest in ultrasonic cleaner
- Implement strict maintenance schedule
- Keep detailed maintenance logs
For Budget-Conscious:
- Basic needle set ($15)
- Vinegar soak method
- Regular visual inspections
Remember: A clean torch is a safe, efficient torch. Proper maintenance with the right torch tip cleaner tools will save you money on fuel, prevent safety issues, and extend your equipment’s lifespan significantly.