
Splicing Car Wires might sound complicated, but it’s actually pretty easy once you get the hang of it. If you’re installing new lights, fixing a broken wire, or adding a new feature to your car, you’ll probably need to splice some wires.
Doing it the right way is important. A bad splice can lead to electrical problems, or even cause damage to your car. In this post, we’ll walk you through how to do it safely and properly, even if you’ve never done it before.
Why it matters
When you connect wires the wrong way, they can come loose or create a short. That might stop your lights or radio from working—and in some cases, it could even start a fire.
Splicing wires the right way helps keep your car safe. It also makes sure that whatever you’re installing or repairing keeps working the way it should.
What you’ll need
Before you start, gather a few tools. Don’t worry—most of these are cheap and easy to find:
- Wire strippers
- Crimp connectors or soldering tools
- Heat shrink tubing or electrical tape
- A heat gun or lighter
- Multimeter (for testing)
Having the right tools makes the job easier and safer. You don’t need anything fancy—just a few basic items to get the job done right.
Different ways to do it
There are a few different ways to splice car wires. Some are quick and temporary, while others are more secure and meant to last a long time.
Twist and tape: This is the simplest method. You twist the wires together and wrap them with electrical tape. It works in a pinch, but it’s not the best for long-term use.
Crimp connectors: These are little metal sleeves you press around the wires using a crimping tool. They’re fast and hold up pretty well.
Soldering: This is the strongest and most reliable method. It involves melting a bit of metal (called solder) onto the wires to hold them together. It takes more time but gives you the best connection.
How to splice wires step by step
Let’s walk through the process so you can try it yourself.
Step 1: Disconnect the battery
Before doing anything with your car’s wires, disconnect the battery. This keeps you safe and prevents accidents.
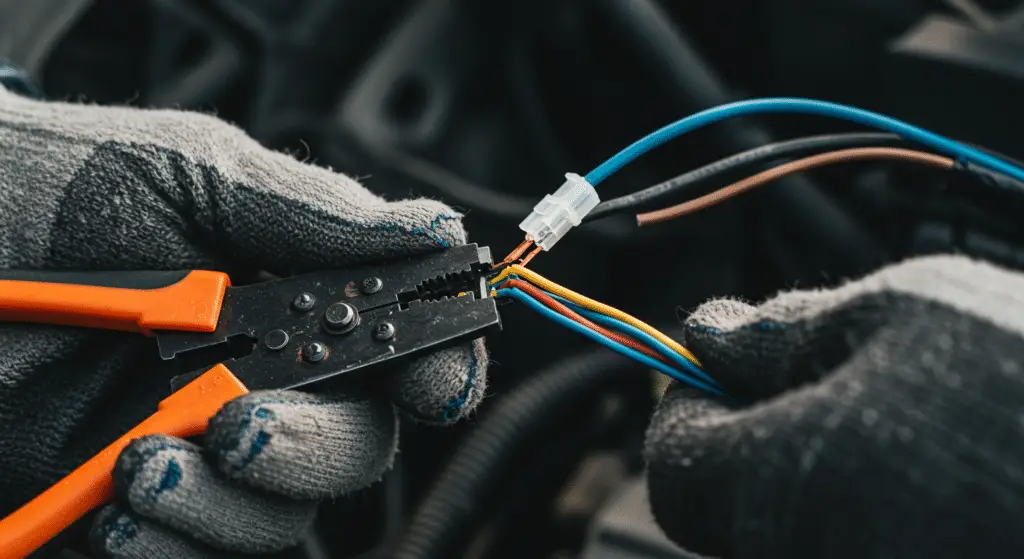
Step 2: Strip the wire ends
Use a wire stripper to remove about half an inch of insulation from each wire. Be careful not to cut into the wire itself.
Step 3: Connect the wires
Now choose your method. If you’re using a crimp connector, slide the wires in and press down with your tool. If you’re soldering, twist the wires, heat them up, and apply solder.
Step 4: Seal the connection
Slide heat shrink tubing over the splice and use a heat gun to shrink it tight. If you’re using tape, wrap it snugly so no bare wire is showing.
Step 5: Reconnect and test
Reconnect the battery and test the wire. Make sure whatever you were fixing or installing works as expected.
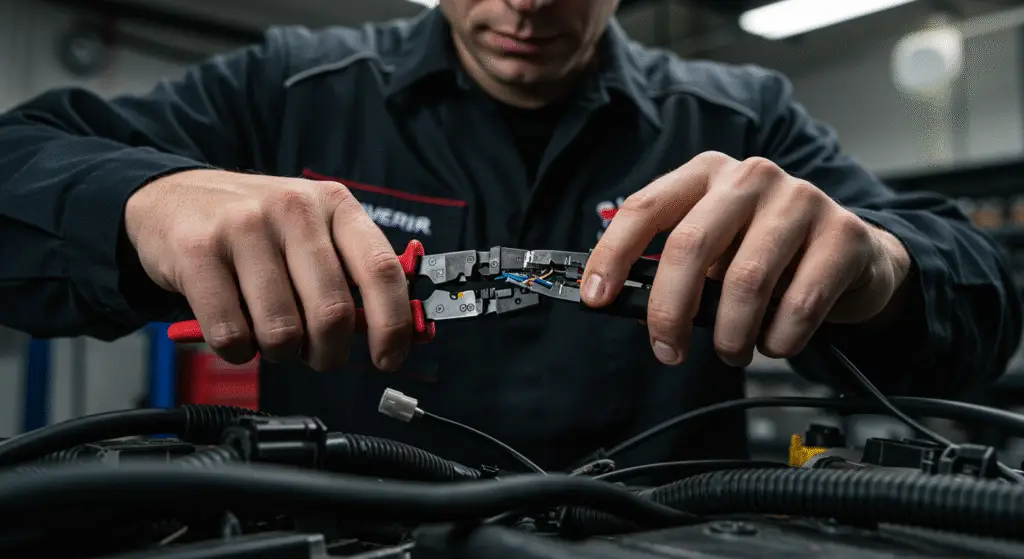
Tips for working in small spaces
Splicing wires under the dashboard or inside a car door can be tricky. Here are a few ideas to make it easier:
- Use a flashlight or headlamp to see clearly
- Use smaller tools if space is tight
- Label wires before you disconnect anything
- Take your time—rushing leads to mistakes
Even in tight spaces, a good wire splice is totally doable if you stay patient and organized.
Common mistakes to avoid
Lots of beginners make simple mistakes when splicing wires. Here are a few to watch out for:
- Not stripping enough insulation
- Cutting too much wire
- Using the wrong tape
- Forgetting to test the connection
- Leaving wires exposed
Avoiding these problems helps your work last longer and keeps your car’s electrical system safe.
When to splice—and when not to
Sometimes it’s better to replace a wire instead of splicing it.
If the wire is badly corroded, burned, or broken in several places, just replace it. Splicing works well for small fixes and upgrades, but not for large or critical areas like airbags or sensors.
When in doubt, check your car’s manual or talk to a mechanic.
Testing your splice
After you’ve finished, always test the wire.
Use a multimeter to check that electricity is flowing. Wiggle the wire a little to make sure the connection holds. Then test the part of the car you were working on. If everything works, you’re good to go.
This final step gives peace of mind and catches any issues before they become problems.
Final thoughts
Learning how to splice car wires is a useful skill for any car owner. It might feel a bit technical at first, but once you try it, you’ll see it’s really not that hard.
Take your time, follow the steps, and don’t be afraid to ask for help if you need it. Doing it yourself can save money and give you more control over your car’s upgrades and repairs.
With the right tools and a little patience, you can handle most simple wire splices on your own.
FAQs
Is it safe to splice wires in a car?
Yes, as long as you follow the right steps and insulate the wires properly.
Do I have to solder every wire splice?
No. Crimp connectors are fine for many car repairs and are easier for beginners.
What tape should I use?
Use automotive-grade electrical tape, or better yet, heat shrink tubing for a stronger seal.
How long will a splice last?
If done correctly, a splice can last for years, just like the rest of the wiring in your car.
Can I splice wires without turning off the car?
No. Always disconnect the battery first to avoid shocks or short circuits.