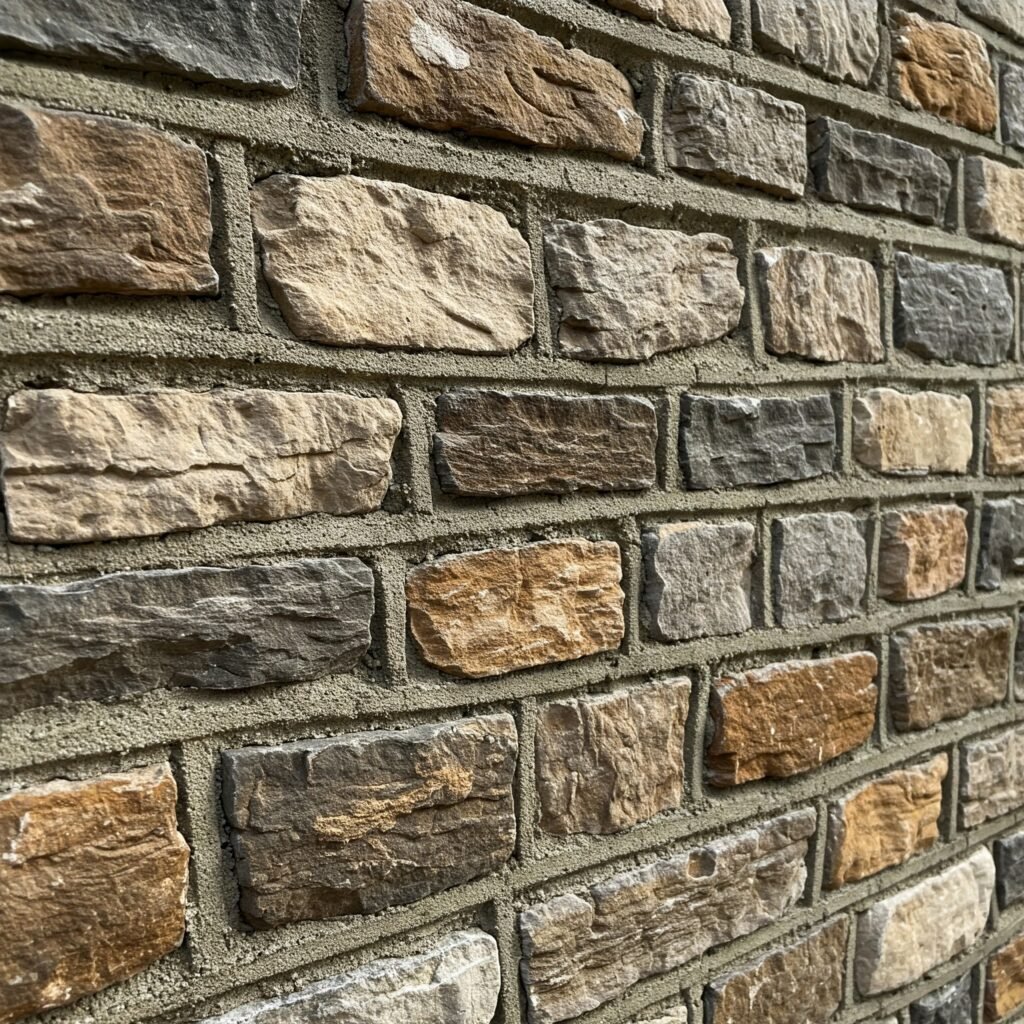
Mortared stone construction combines timeless beauty with exceptional durability, making it a preferred choice for everything from garden walls to architectural features. While the technique may seem straightforward, mastering mortared stone work requires careful attention to detail at every stage. This comprehensive guide walks you through the crucial steps professionals use to create stunning, long-lasting mortared stone projects.
Understanding Mortared Stone Fundamentals
Before beginning any project, it’s essential to grasp why mortared stone differs from dry-stack methods. The mortar acts as both adhesive and structural component, allowing for more complex designs while requiring precise execution. Key advantages include:
- Enhanced structural integrity for taller or load-bearing elements
- Greater design flexibility with varied stone shapes and sizes
- Improved weather resistance in harsh climates
- Longer lifespan with proper installation and maintenance
Selecting Appropriate Stone Materials
Your choice of stone significantly impacts both aesthetics and performance. Consider these factors when selecting materials:
- Natural stone options: Granite, limestone, and sandstone offer authentic beauty but vary in porosity and weight
- Manufactured alternatives: Cultured stone provides consistent sizing and lighter weight for certain applications
- Surface texture: Rough-hewn stones provide better mortar adhesion than polished surfaces
- Color consistency: Decide whether uniform tones or natural variations better suit your design vision
Preparing the Foundation for Success
A properly constructed base prevents settling and cracking. Follow these critical preparation steps:
- Excavation: Remove all organic material and dig below frost line in cold climates
- Drainage: Install perforated pipe behind retaining walls with gravel backfill
- Footings: Pour reinforced concrete footings for structural elements, extending below frost depth
- Backer board: Use cement board as a stable substrate for vertical applications

Mastering Mortar Mixes and Application
The right mortar composition varies by project type and stone selection:
- Type N mortar: General purpose mix suitable for most above-grade work
- Type S mortar: Higher strength formulation for load-bearing applications
- Specialty mixes: Some manufacturers offer stone-specific mortars with enhanced bonding
Application techniques to remember:
- Maintain consistent mortar thickness (typically 3/8″ to 1/2″)
- “Butter” each stone’s back and edges before placement
- Work in manageable sections to prevent mortar skinning over
Professional Installation Techniques
Achieving professional results requires methodical stone placement:
- Layout strategy: Dry-lay stones first to plan the most efficient pattern
- Course alignment: Use level lines and story poles to maintain consistent height
- Joint spacing: Keep joints uniform (typically 1/2″ to 1″) for structural integrity
- Tie-ins: Incorporate metal ties or rebar for structural elements
Finishing and Curing Best Practices
Proper finishing and curing ensure maximum strength and durability:
- Joint tooling: Shape joints when mortar is thumbprint-firm using appropriate tools
- Curing environment: Maintain moderate temperature and humidity for 72 hours
- Protection: Shield fresh work from rain, sun, and freezing temperatures
- Cleaning: Remove mortar smears before complete hardening with specialized cleaners
Long-Term Maintenance Strategies
Protect your investment with proper ongoing care:
- Sealing: Apply breathable, penetrating sealers annually in harsh climates
- Repairs: Address minor cracks promptly with color-matched repair mortars
- Cleaning: Use low-pressure washing and stone-safe cleaners
- Drainage maintenance: Keep weep holes and drainage systems clear
Troubleshooting Common Issues
Even experienced masons encounter challenges. Solutions for frequent problems include:
- Efflorescence: Remove with specialized cleaners and improve drainage
- Spalling stones: Replace damaged units and address moisture issues
- Cracked mortar: Rake out and repoint affected joints
- Staining: Identify source and use appropriate poultice treatments
Advanced Techniques for Special Applications
For those ready to expand their skills:
- Arch construction: Learn proper centering and voussoir placement
- Curved walls: Master the art of batter and tapered joints
- Stone veneer: Perfect the techniques for thin stone applications
- Decorative finishes: Experiment with colored mortars and special joint profiles
By following these professional guidelines and continually refining your techniques, you’ll create mortared stone projects that combine structural soundness with enduring beauty. Remember that quality materials, proper preparation, and patient execution separate adequate work from truly exceptional results.
For those undertaking complex projects, consider consulting with experienced masons or taking specialized workshops to hone your skills. The investment in knowledge pays dividends in the quality and longevity of your finished work.
Have specific questions about your mortared stone project? Our team of experts is available to provide tailored advice for your unique situation.

Pingback: Crypto30x.com: Unlock 30x Returns in Crypto Market
Pingback: How Do I Clean a Popcorn Ceiling? A Step-by-Step Guide to Restoring Its Beauty - hayathomeessentials.com
Pingback: 25 Bedroom Wallpaper Ideas to Refresh Your Space Design Tips