
How to use edger paint is one of the most common questions people ask when they want clean, sharp paint lines around ceilings, trim, and corners. Whether you’re painting a bedroom, living room, or hallway, using an edger tool can save you time and help you get professional-looking results without the hassle of painter’s tape. In this guide, you’ll learn step-by-step how to get smooth edges and avoid common painting mistakes.
Why using an edger makes painting easier
A paint edger is a small tool made to help you paint straight lines without using painter’s tape. It usually has a flat pad for paint and small guide wheels to help keep the line straight as you move it along the wall or ceiling.
If you’re wondering why you should bother learning how to use edger paint, here are a few good reasons:
- It helps you paint straight lines quickly
- You don’t need to tape off everything
- It prevents paint from getting on places you don’t want it
- It’s great for ceilings, corners, baseboards, and trim
What you’ll need before you start painting
Before you begin, make sure you have all your supplies ready. This helps you work faster and avoid stopping in the middle of painting.
Here’s what you need:
- A paint edger tool
- Your choice of paint
- A paint tray
- A drop cloth or old sheet to cover the floor
- A damp cloth for quick cleanups
- Painter’s tape (optional for tricky spots)
Having everything ready makes the whole painting process smoother.
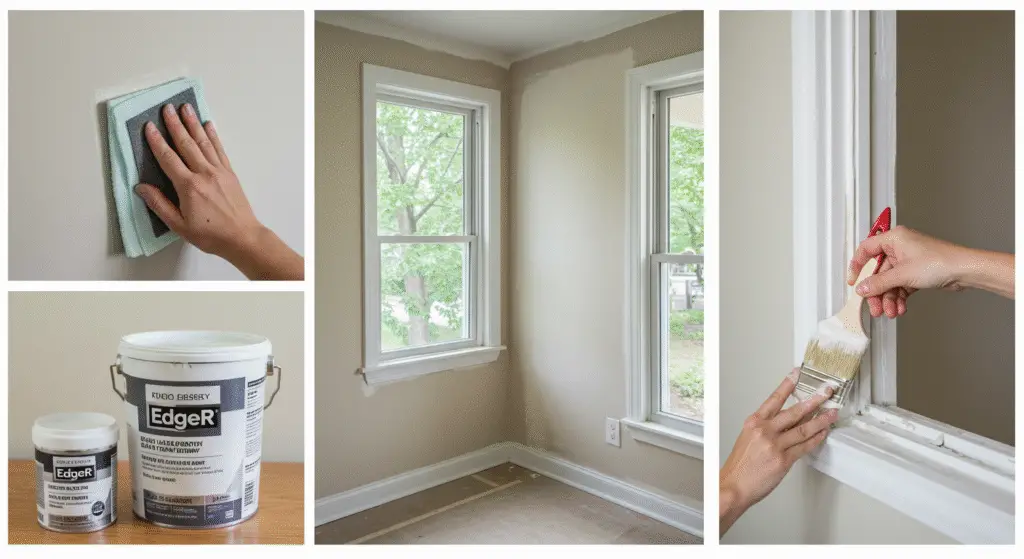
Getting the surface ready
Before using any paint tool, it’s important to prepare your wall. Clean the surface using a dry or slightly damp cloth to remove dust, dirt, or cobwebs. This helps the paint stick better and go on smoothly.
You should also move furniture away from the walls and lay down a drop cloth to keep your floors clean. If you’re worried about getting paint on certain areas like outlets or trim, you can still use painter’s tape in those places for extra safety.
Putting paint on the edger the right way
When you use a paint edger, how you load it with paint really matters. You don’t want to dip the whole tool in paint. Instead, gently press the paint pad onto the surface of the paint in your tray. Try not to soak it too much. If the pad gets too wet, it might drip or smear.
The goal is to just get enough paint on the pad to cover the edge you’re working on. A little goes a long way when you’re painting near delicate areas.
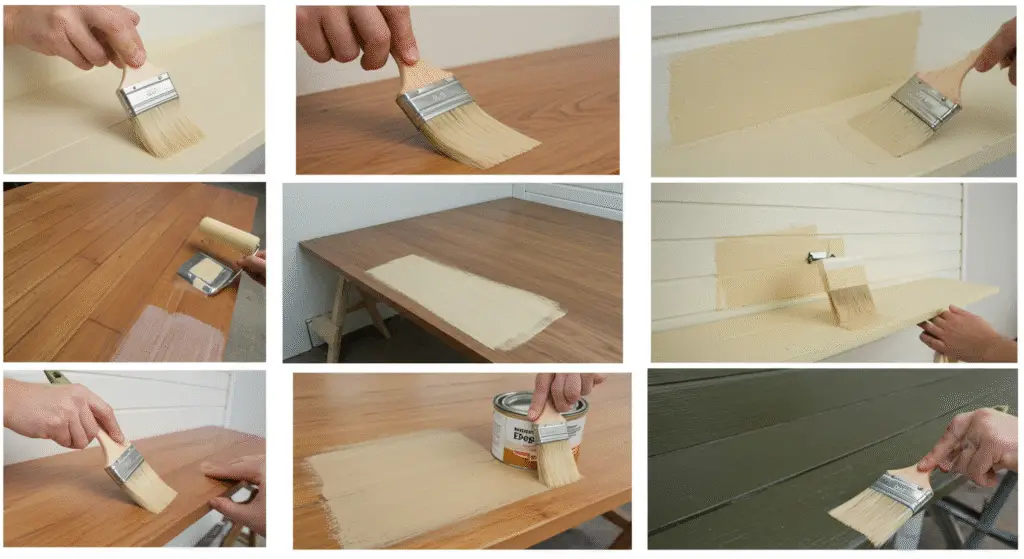
Lining it up and making your first pass
Now it’s time to paint. Start by placing the edger at the edge of the area where the wall meets the trim or ceiling. Make sure the guide wheels are pressed against the edge. Then slowly slide the tool in one direction, keeping a steady hand.
Don’t rush. A smooth and even motion gives the best results. If you run out of paint on the pad, stop, reload gently, and keep going. Don’t try to push it if it’s dry—it will only give you patchy lines.
Keep your edger clean as you go
One helpful tip for anyone learning how to use edger paint is to clean the tool often while working. Paint can build up on the wheels or edges, which can mess up your straight lines. Wipe it off with a damp cloth every few strokes, especially if you see paint smudging or dripping.
This step doesn’t take much time, but it can make a big difference in the final look of your project.
Look for touch-ups and do a final check
After you’ve gone around the edges, take a few minutes to step back and look at your work. If you notice any small areas you missed, use a small brush to fix them. These little touch-ups can make your paint job look flawless.
When you’re done, clean your tools and put everything away. You’ll feel good knowing you finished the job right.
What to avoid when using an edger
Here are some common mistakes people make with a paint edger—and how to avoid them:
- Don’t overload the paint pad. Too much paint will drip.
- Don’t move too fast. Slow and steady gives clean lines.
- Don’t use the edger on bumpy or textured walls. It works best on smooth surfaces.
- Don’t forget to clean the guide wheels regularly.
Learning how to use edger paint the right way helps you avoid these problems and gives you better results.
Is a paint edger worth it?
For most indoor painting jobs, the answer is yes. Paint edgers can make it easier to paint corners and along ceilings or trim without making a mess. They work great in bedrooms, living rooms, and hallways—especially if you want a neat look and don’t have much time.
But keep in mind, they aren’t perfect for every job. If your wall is very textured or bumpy, an edger might not glide smoothly. In that case, painter’s tape or a steady hand with a brush may be better.
Final thoughts on painting like a pro
Using a paint edger is one of those small changes that can make a big difference. Once you get the hang of it, you’ll find painting edges much easier and less stressful. You don’t need to be a professional to get professional-looking results.
So next time you’re ready to paint a room, give this tool a try. Knowing how to use edger paint the right way could save you time, make your lines cleaner, and make your entire painting job look better.